
403 Forbidden
ERR_WEB_NGX_403
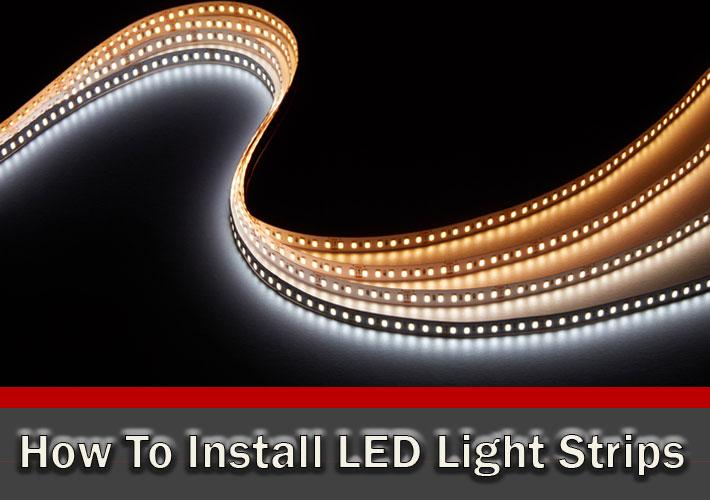
LED lighting is a versatile and energy-efficient way to illuminate any space. Whether you want to enhance the look of your kitchen cabinets, add subtle lighting to your study, or brighten up your bathroom mirrors, LED tape lighting can be the perfect solution. Installing LED tape is an easy project that can dramatically change the atmosphere of a room. However, it’s important to note that electrical wiring connections should only be handled by those familiar with the process or professionals. This guide will walk you through the installation process, step by step, to help you achieve the perfect lighting setup.
To successfully install LED tape lighting, you’ll need the following equipment:
The first step in the installation process is prepping the power cable. Cut off the end of the cable, leaving as much of the usable cable as possible. Use the wire stripper to carefully cut through the outer molding of the wire. Ensure that you uncover enough to work with but not too much, as it will need to be covered up again later. About 2½ inches should suffice. Carefully pull off the outer casing of the cable and untangle the wires inside. After that, use the wire stripper to remove around half an inch of the casing from each individual wire.
Before you begin the soldering process, you will need to slide the appropriate heat shrink tubing over the wires. Use small pieces for the live and neutral wires, a medium piece for the cable coming from the power adapter, and a larger piece for the full AC cable. Place the larger tubing over the entire wire section first, then slide the smaller pieces of tubing onto the live and neutral wires. Make sure each piece is in place before moving on to the next step.
Carefully solder the live, neutral, and ground wires. When soldering, make sure the connections are clean and there is no excess resistance in the wires. This ensures that the electrical connections will be safe and reliable, preventing future issues with your setup.
Once the soldering is complete, slide the small heat shrink tubing over the solder joints, then use a lighter to shrink the tubing until it fits snugly. After that, slide the medium-sized tubing over the exposed wires and shrink it as well. This will ensure the soldered connections are properly insulated. Lastly, use the larger tubing to cover the entire cable, then shrink it to protect the cable and wiring from potential damage.
For this step, you will need to prepare the switch and the cable designed to plug into the LED strips. Cut one end of the 2-pin wire and strip the casing off to expose the wires. Again, use a small piece of tubing to cover the circuit and protect it from shorting. This will allow you to solder the wire to the ground connection of the power adapter safely.
Solder the ground wires from the power adapter and the LED light strip plug. Ensure that the soldered wire on the LED strip side connects to the correct negative terminal on the LED strip. This will ensure that the polarity of the connection is correct for the LEDs to function properly.
Slide a small piece of shrink tubing over the solder joint and use the lighter to shrink it into place, ensuring no exposed wire remains. This will provide additional insulation and safety to the soldered connection.
Next, solder the positive wires from both the power supply and the LED strip to the contacts on the back of the switch. This will allow you to control the power of your LED strips with the switch.
Now it’s time to connect your LED strips. Plug the connector attached to the switch into the power plug on the LED light strip. Use the short jumper wires to link multiple LED strips together in a chain if necessary.
Plug the AC cable into the wall outlet and turn the DC switch to the "on" position. If your LED strips don’t light up, check the connections to ensure the positive and negative terminals are connected properly. Double-check that all your wiring and connections are secure and correct.
To finish, mount the power adapter and switch using mounting tape. Place two strips of mounting tape on the underside of the adapter and press it firmly into place. Use additional tape to position the switch and LED strips where desired. Your installation is now complete!
With these simple steps, you can enhance your living or working space with efficient and stylish LED tape lighting. Whether you're illuminating a kitchen, bathroom, or study, this easy DIY installation will add just the right amount of light to any room. If you are unsure about handling electrical connections, always consult a professional to ensure safety. Enjoy your new lighting setup and the improved atmosphere it brings to your space!